- Like
- SHARE
- Digg
- Del
- Tumblr
- VKontakte
- Flattr
- Buffer
- Love This
- Save
- Odnoklassniki
- Meneame
- Blogger
- Amazon
- Yahoo Mail
- Gmail
- AOL
- Newsvine
- HackerNews
- Evernote
- MySpace
- Mail.ru
- Viadeo
- Line
- Comments
- Yummly
- SMS
- Viber
- Telegram
- JOIN
- Skype
- Facebook Messenger
- Kakao
- LiveJournal
- Yammer
- Edgar
- Fintel
- Mix
- Instapaper
- Copy Link
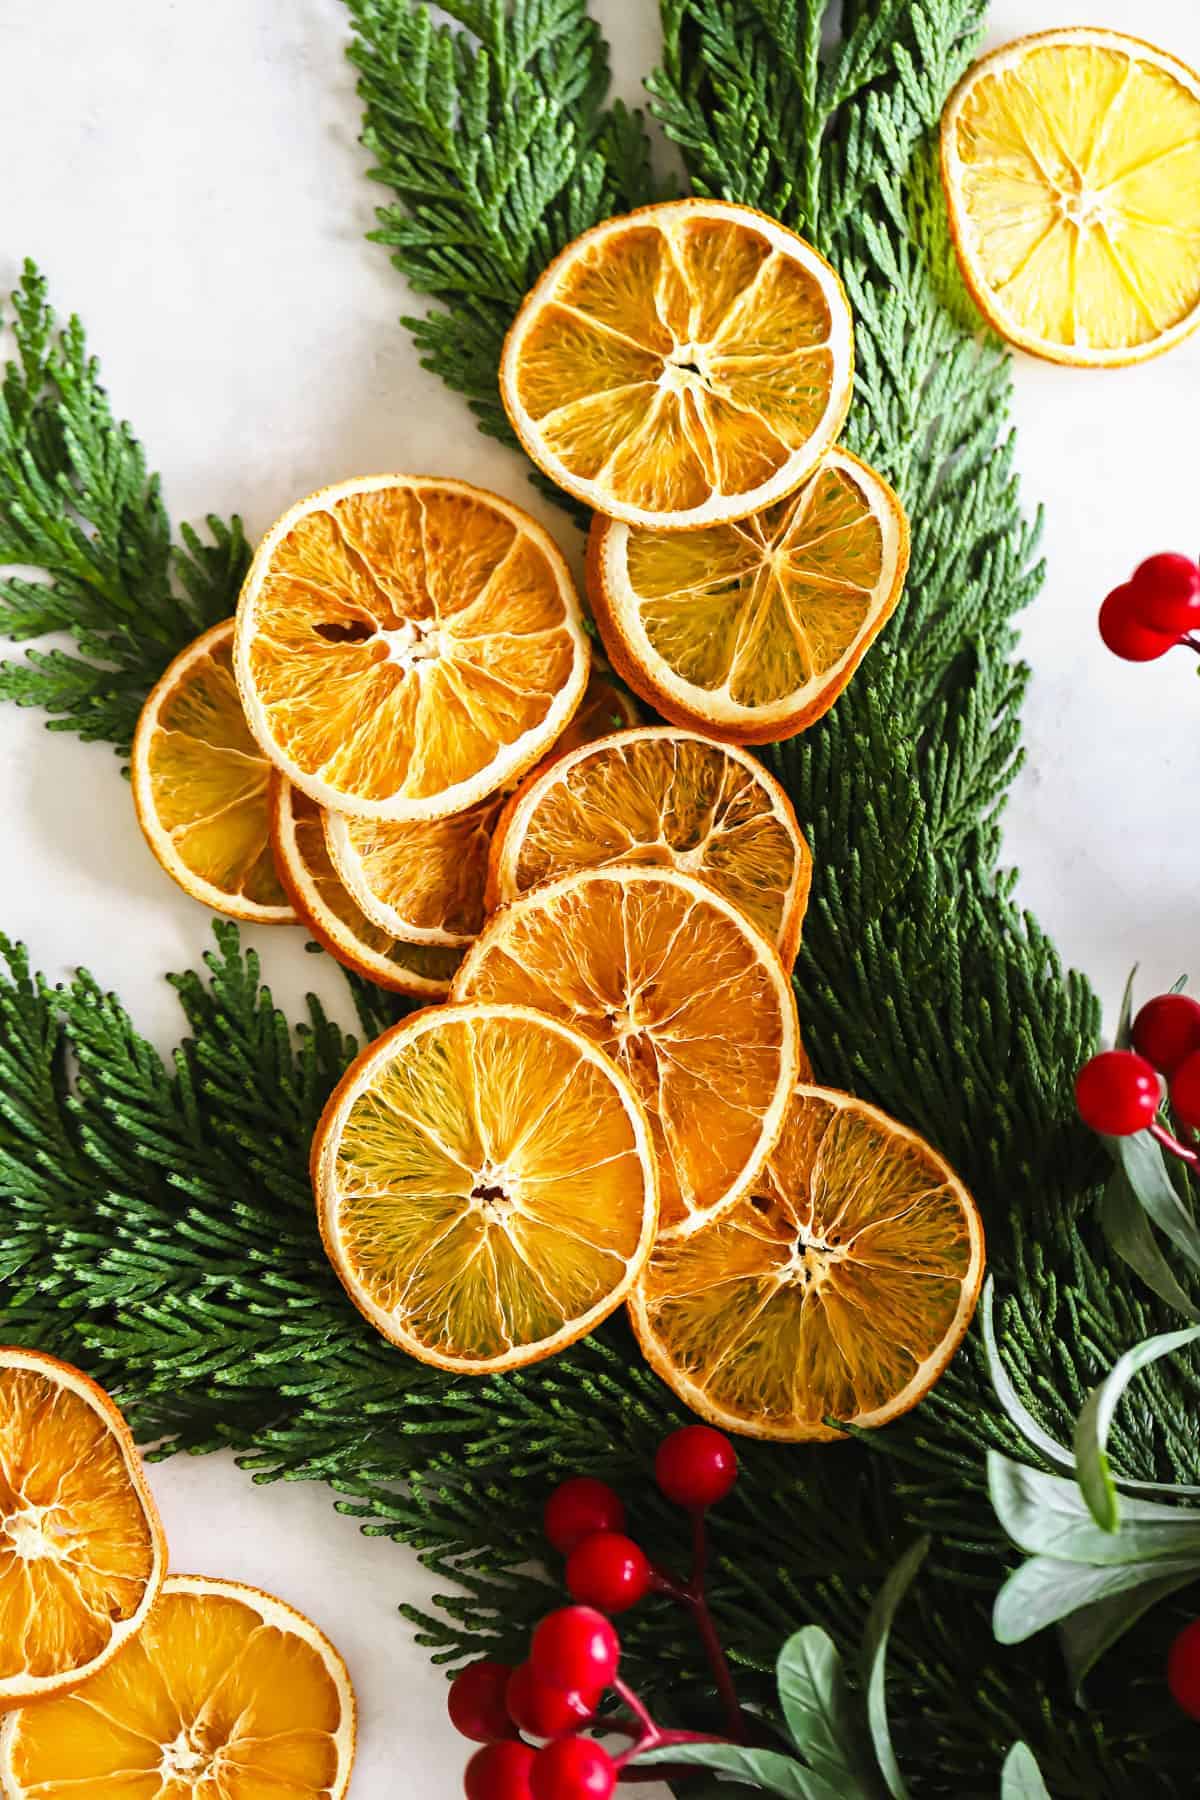
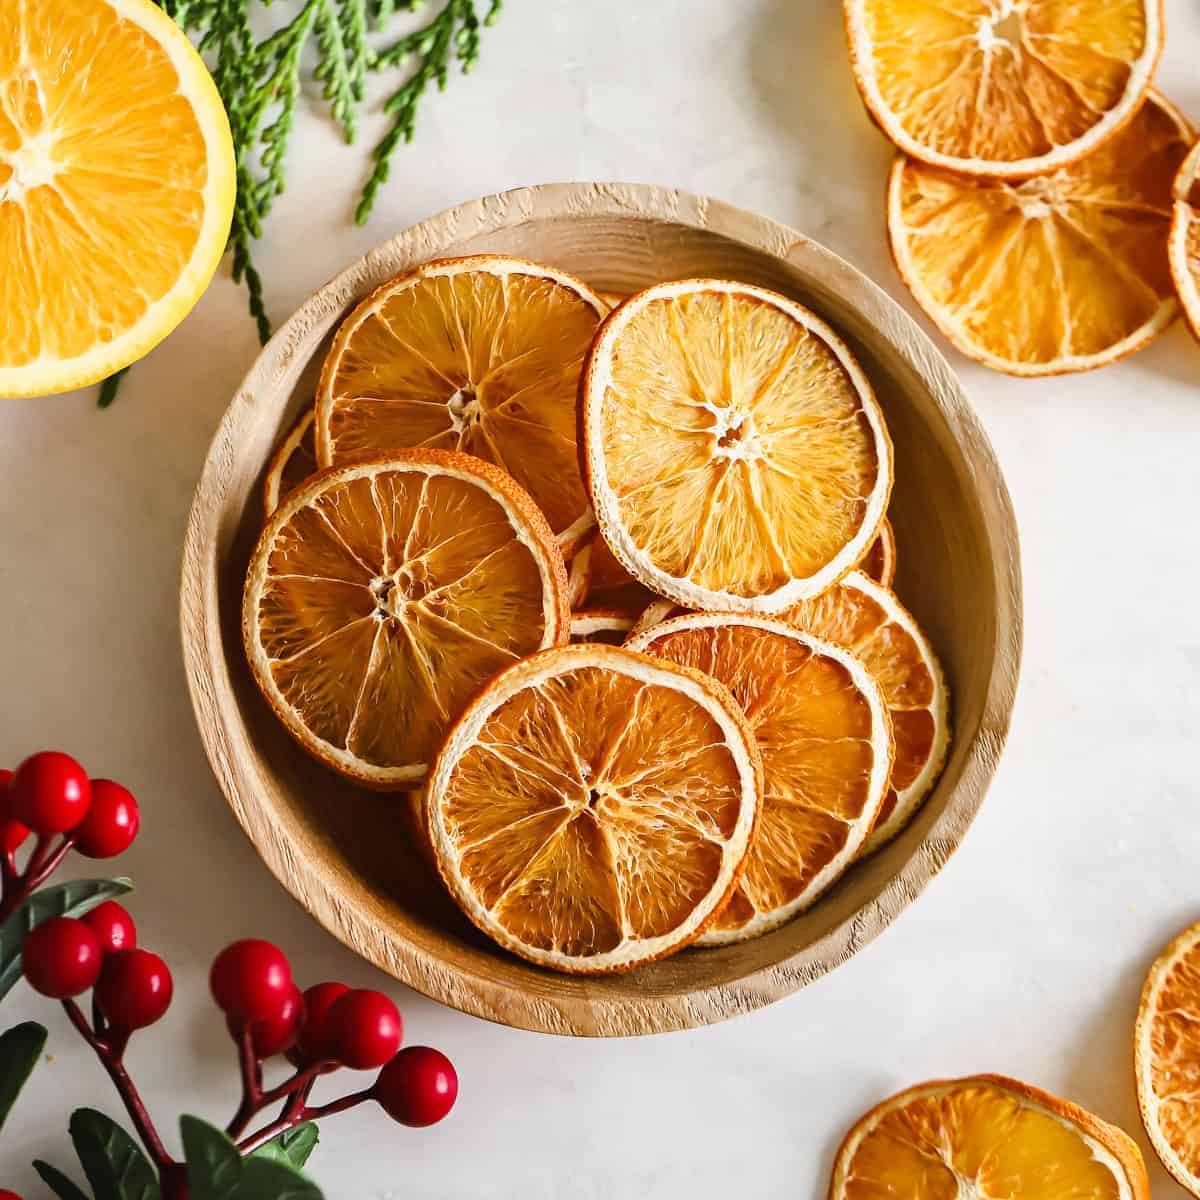
Dried orange garland is such a fun DIY holiday decoration that only requires 1 ingredient – oranges!
Festive Holiday Decor Idea
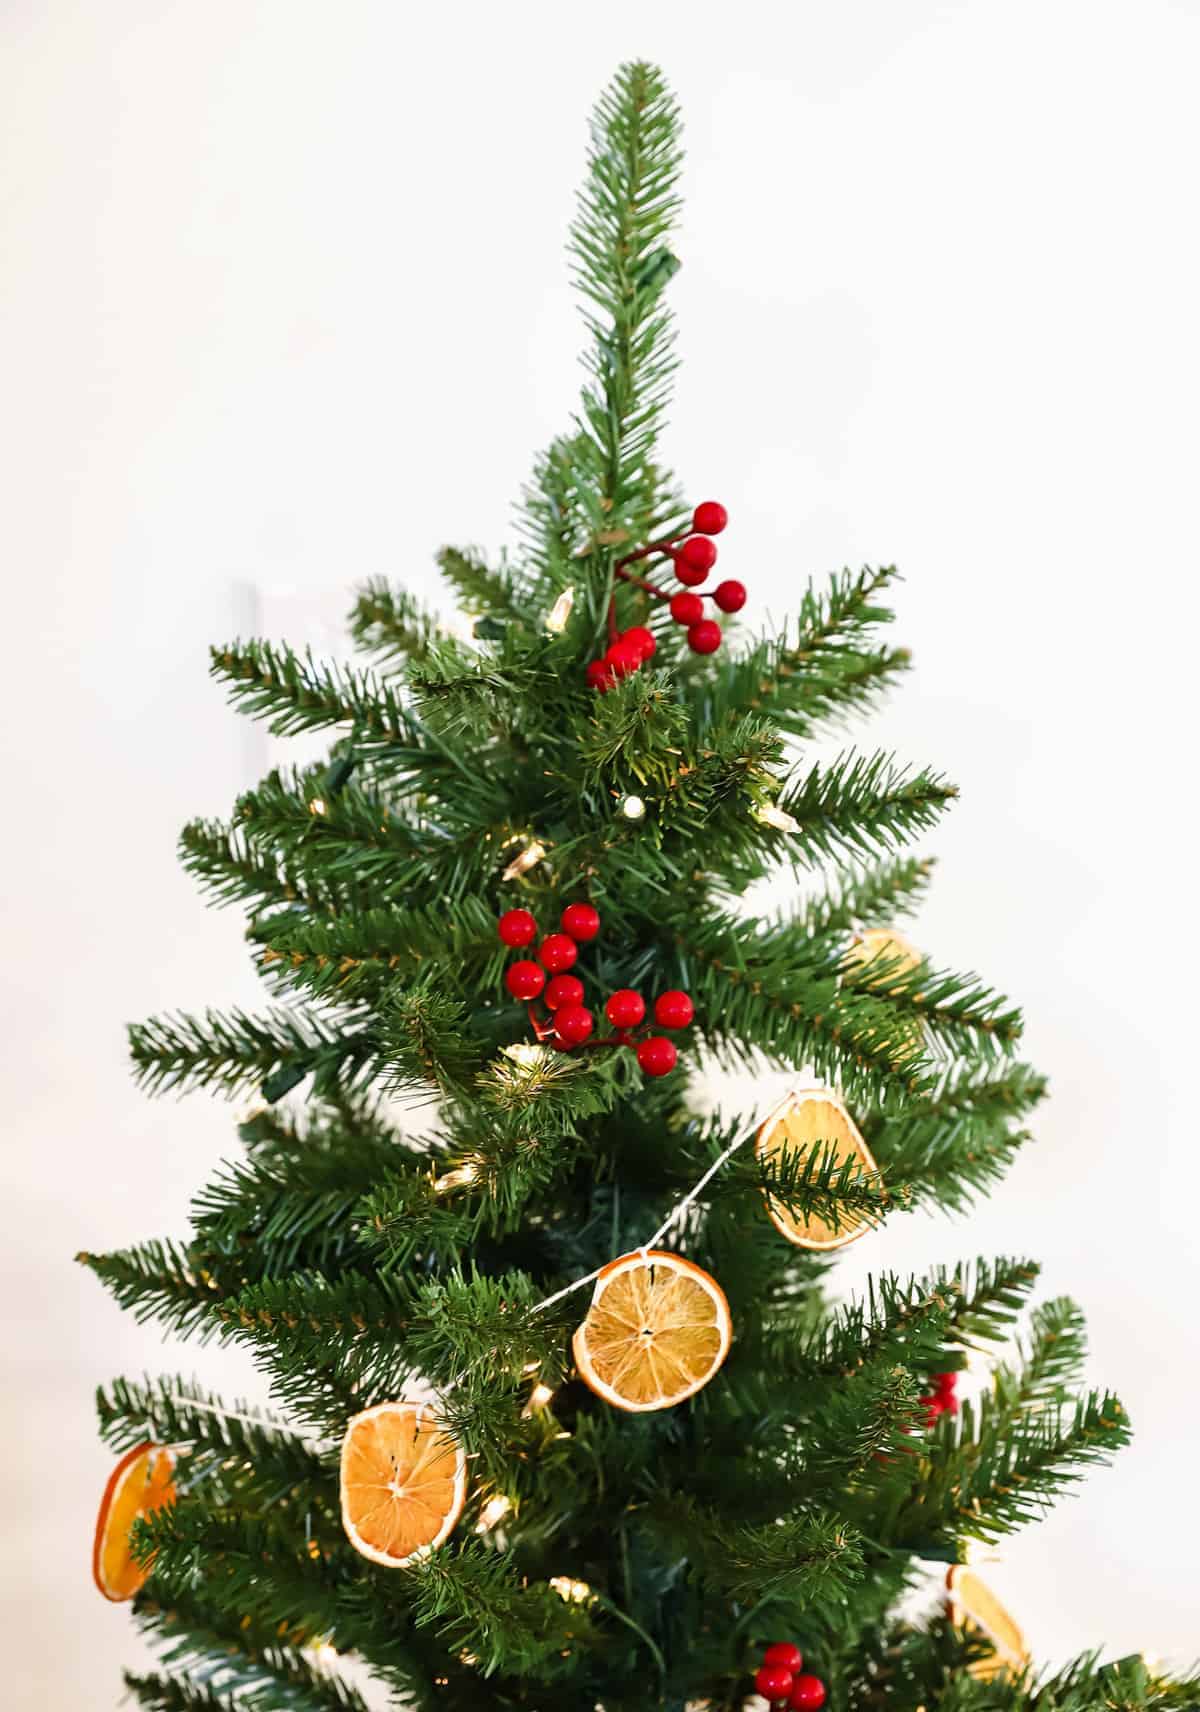
We’re so excited to be sharing this gorgeous dried orange garland tutorial because it is SO EASY, yet will add a little holiday pizazz to any space.
You can string them on a piece of twine to create a garland for your tree, elevate your holiday wreath, or even use them as decoration on your holiday gifts.
The best part about this recipe is there is no need for you to have a fancy dehydrator. All you need is your oven and you’re ready to rock and roll.
So, let’s make some dried orange garland to brighten up your holiday season!
What You Need
The only ingredient needed in this recipe is oranges. Heck, any kind of citrus would work, but for the sake of orange garland, you need around 1-lb of naval oranges.
You’re more than welcome to make more or less depending on how much you want to make, but 1 lb. will make you around 2 sheet pans of orange slices.
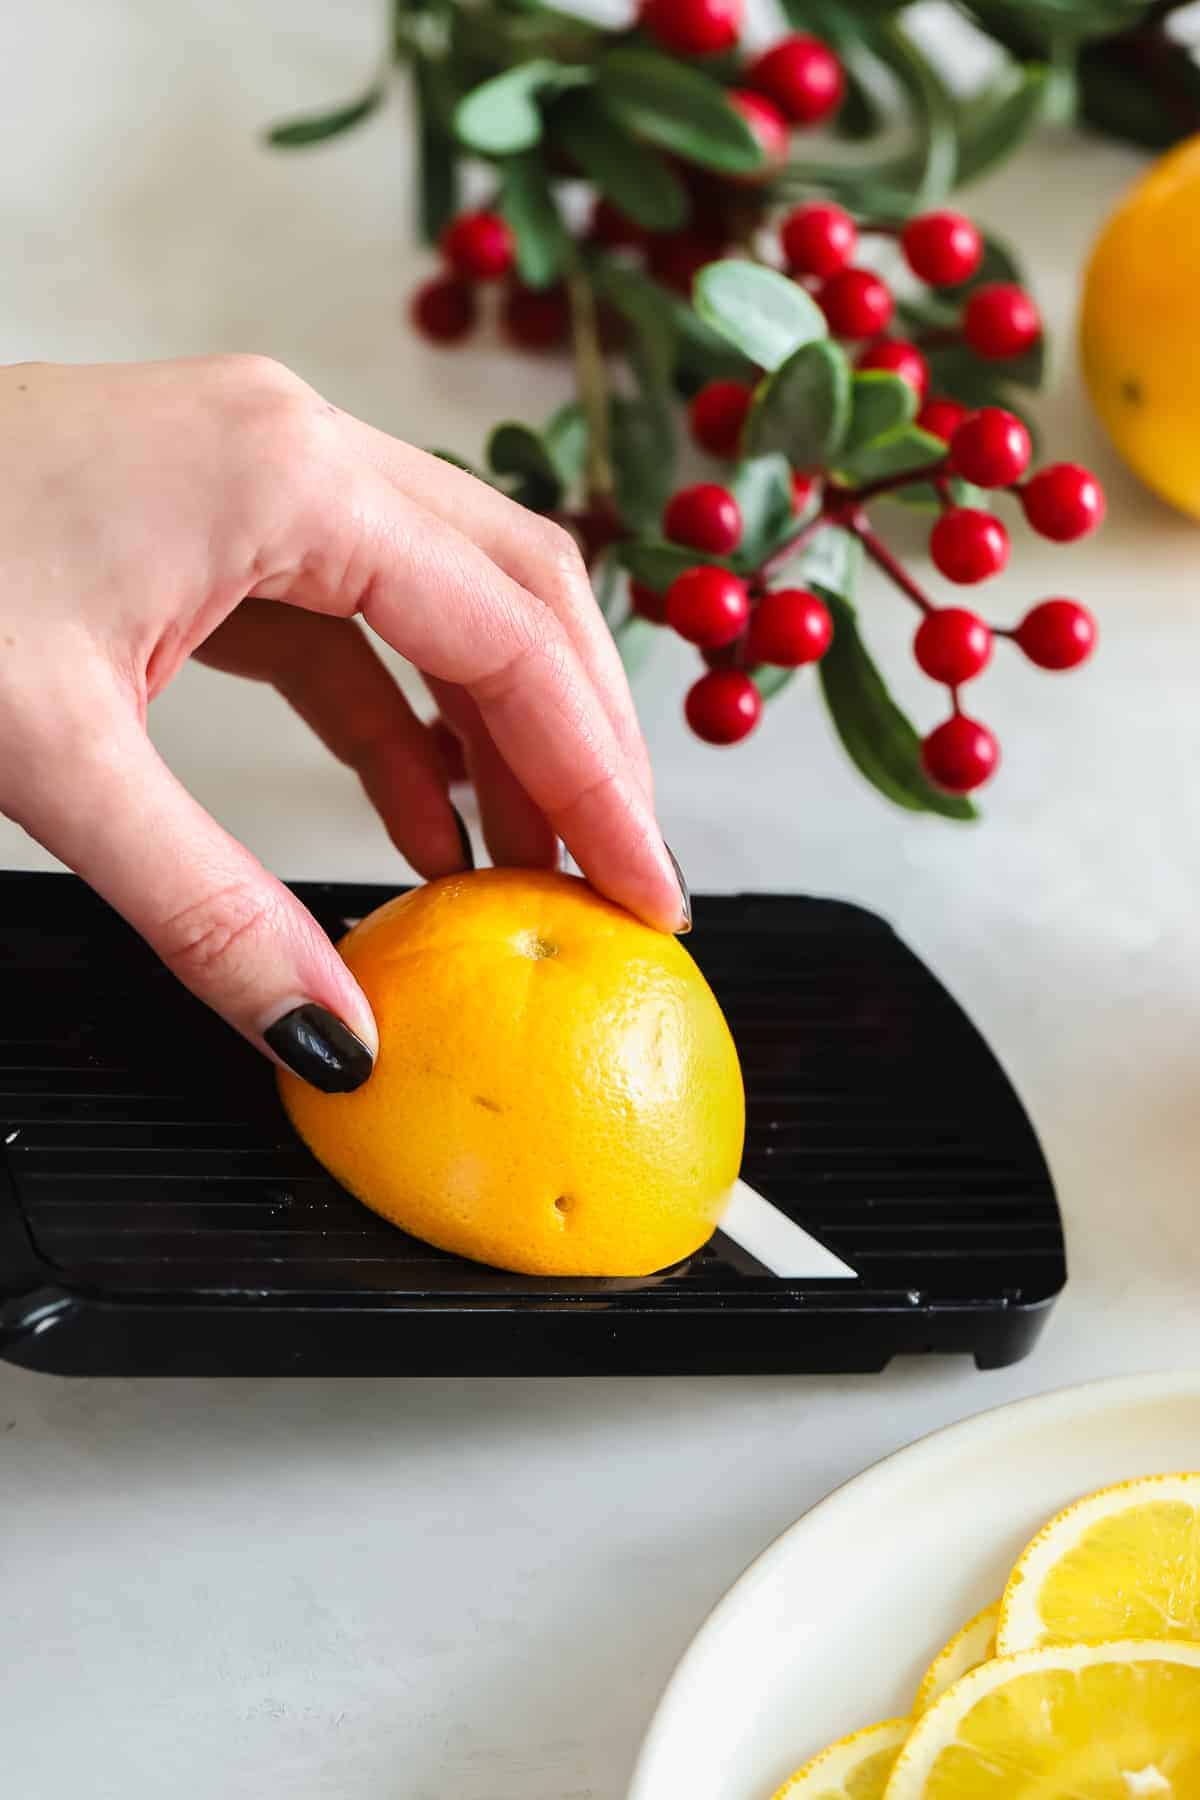
#1 Tool Needed for Dried Orange Garland
The key to making perfect dried orange garland is not a dehydrator or a perfect oven. It’s actually a mandoline slicer.
We use a super simple one from Target and it creates the most perfect, even, thin slices of oranges.
If you don’t have a mandoline, you can also use a super sharp knife but do know that your slices will not be even and the bake time may vary by the slice.
How to Make Dried Orange Garland for the Holidays
Line 2 baking sheets
First, line 2 baking sheets with parchment paper and set aside.
Slice Oranges
Use a mandoline slicer to slice oranges so that they’re 1/8 to 1/4 of an inch thick. If you don’t have a mandoline, you can use a very sharp knife, but do know that your orange slices will not be perfect.
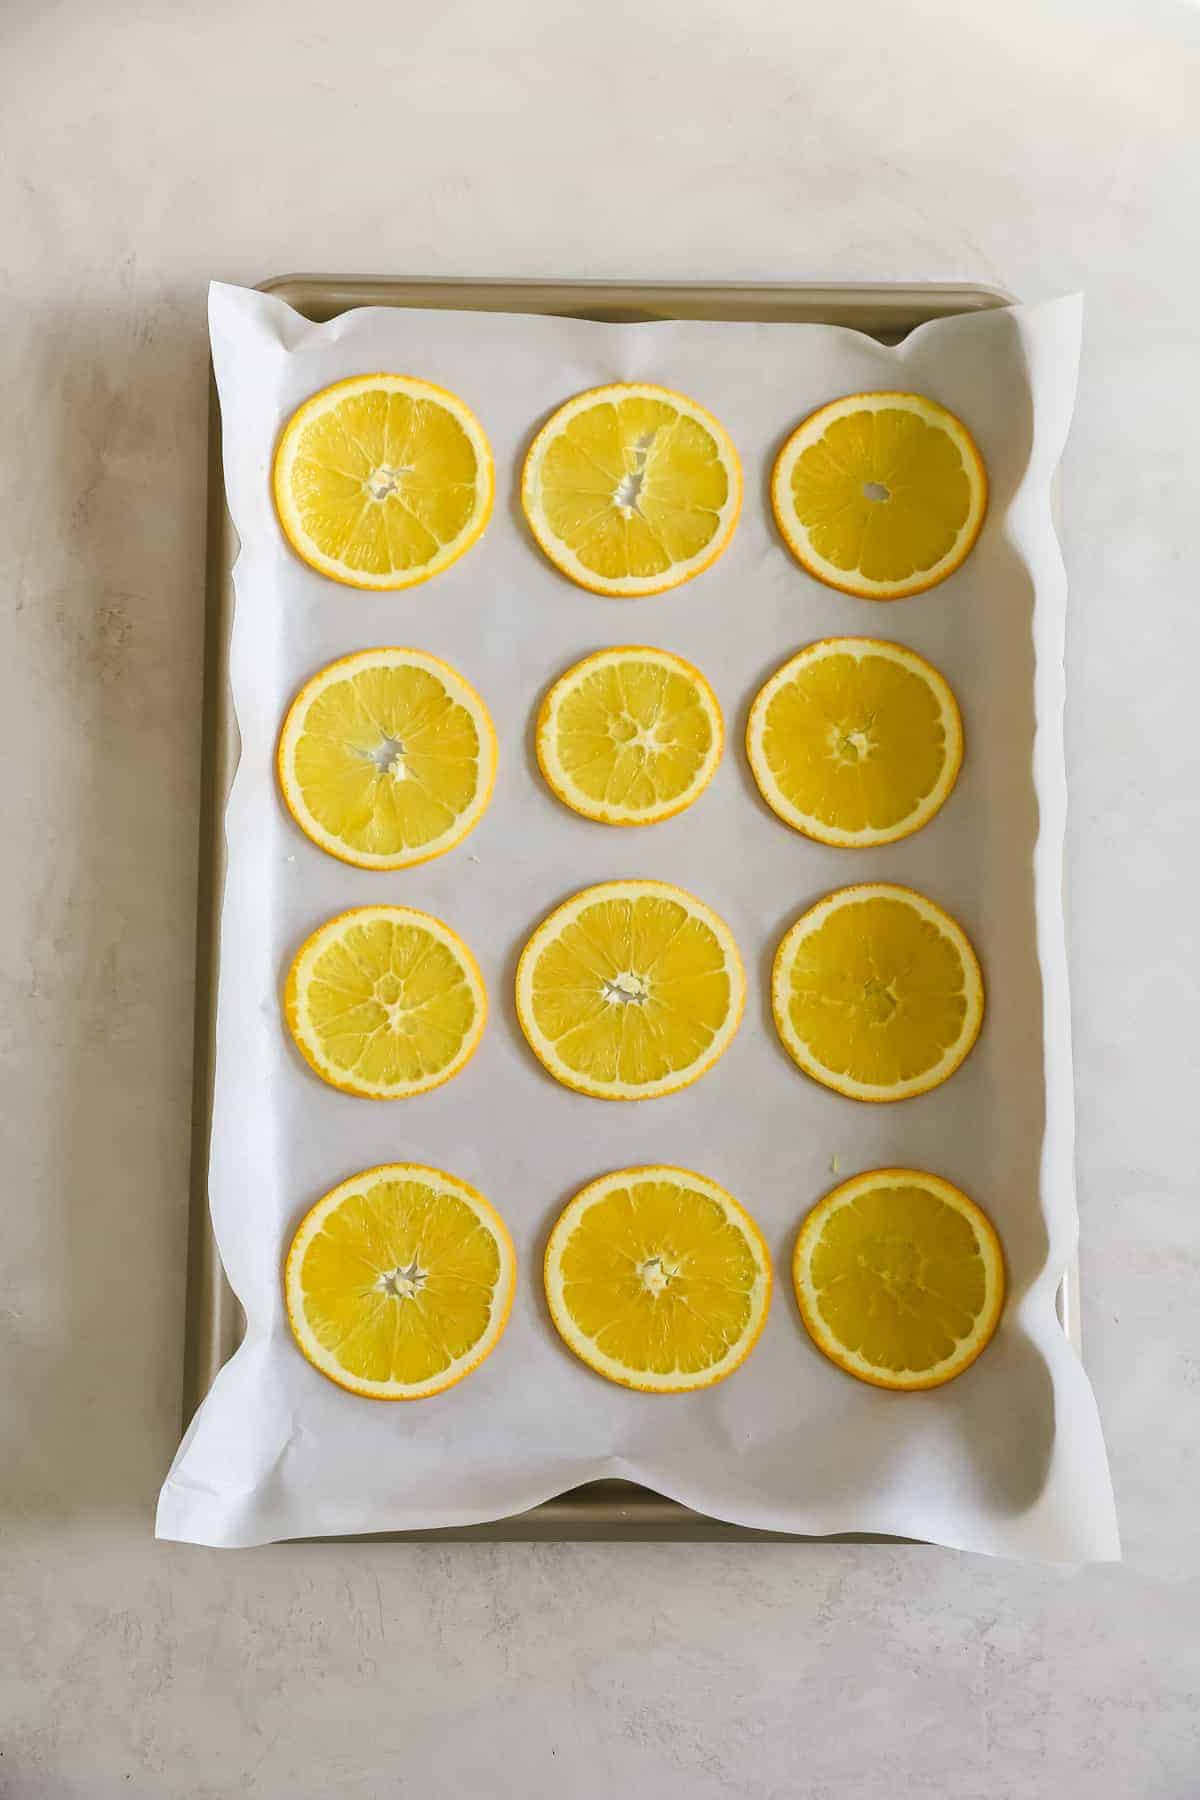
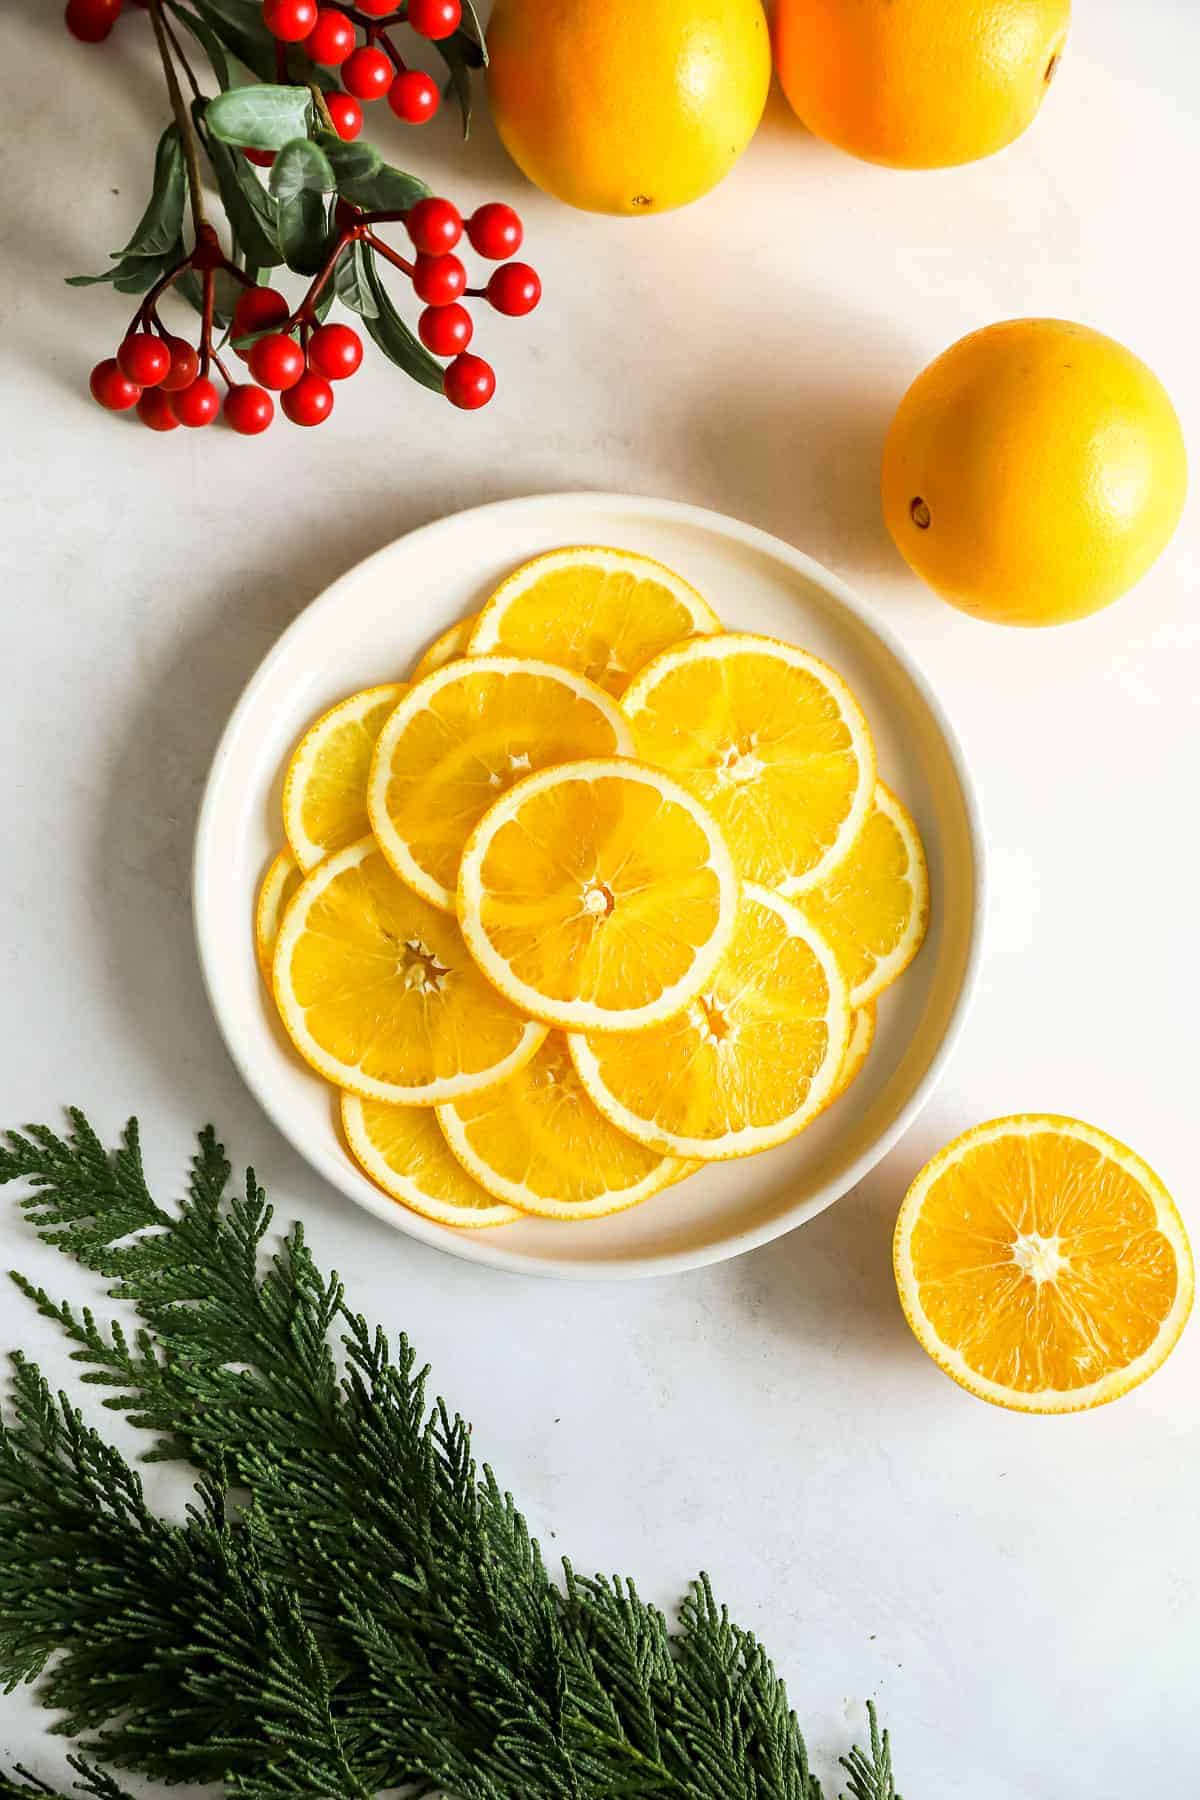
Line Oranges
Line oranges on your baking sheet. They can be touching, but not overlapping as they will shrink when baking.
Bake
Bake the oranges at 170ºF for 1 hour. Then, flip the oranges over and continue baking for 1-1.5 hours or until the oranges are firm to touch and have shrunken.
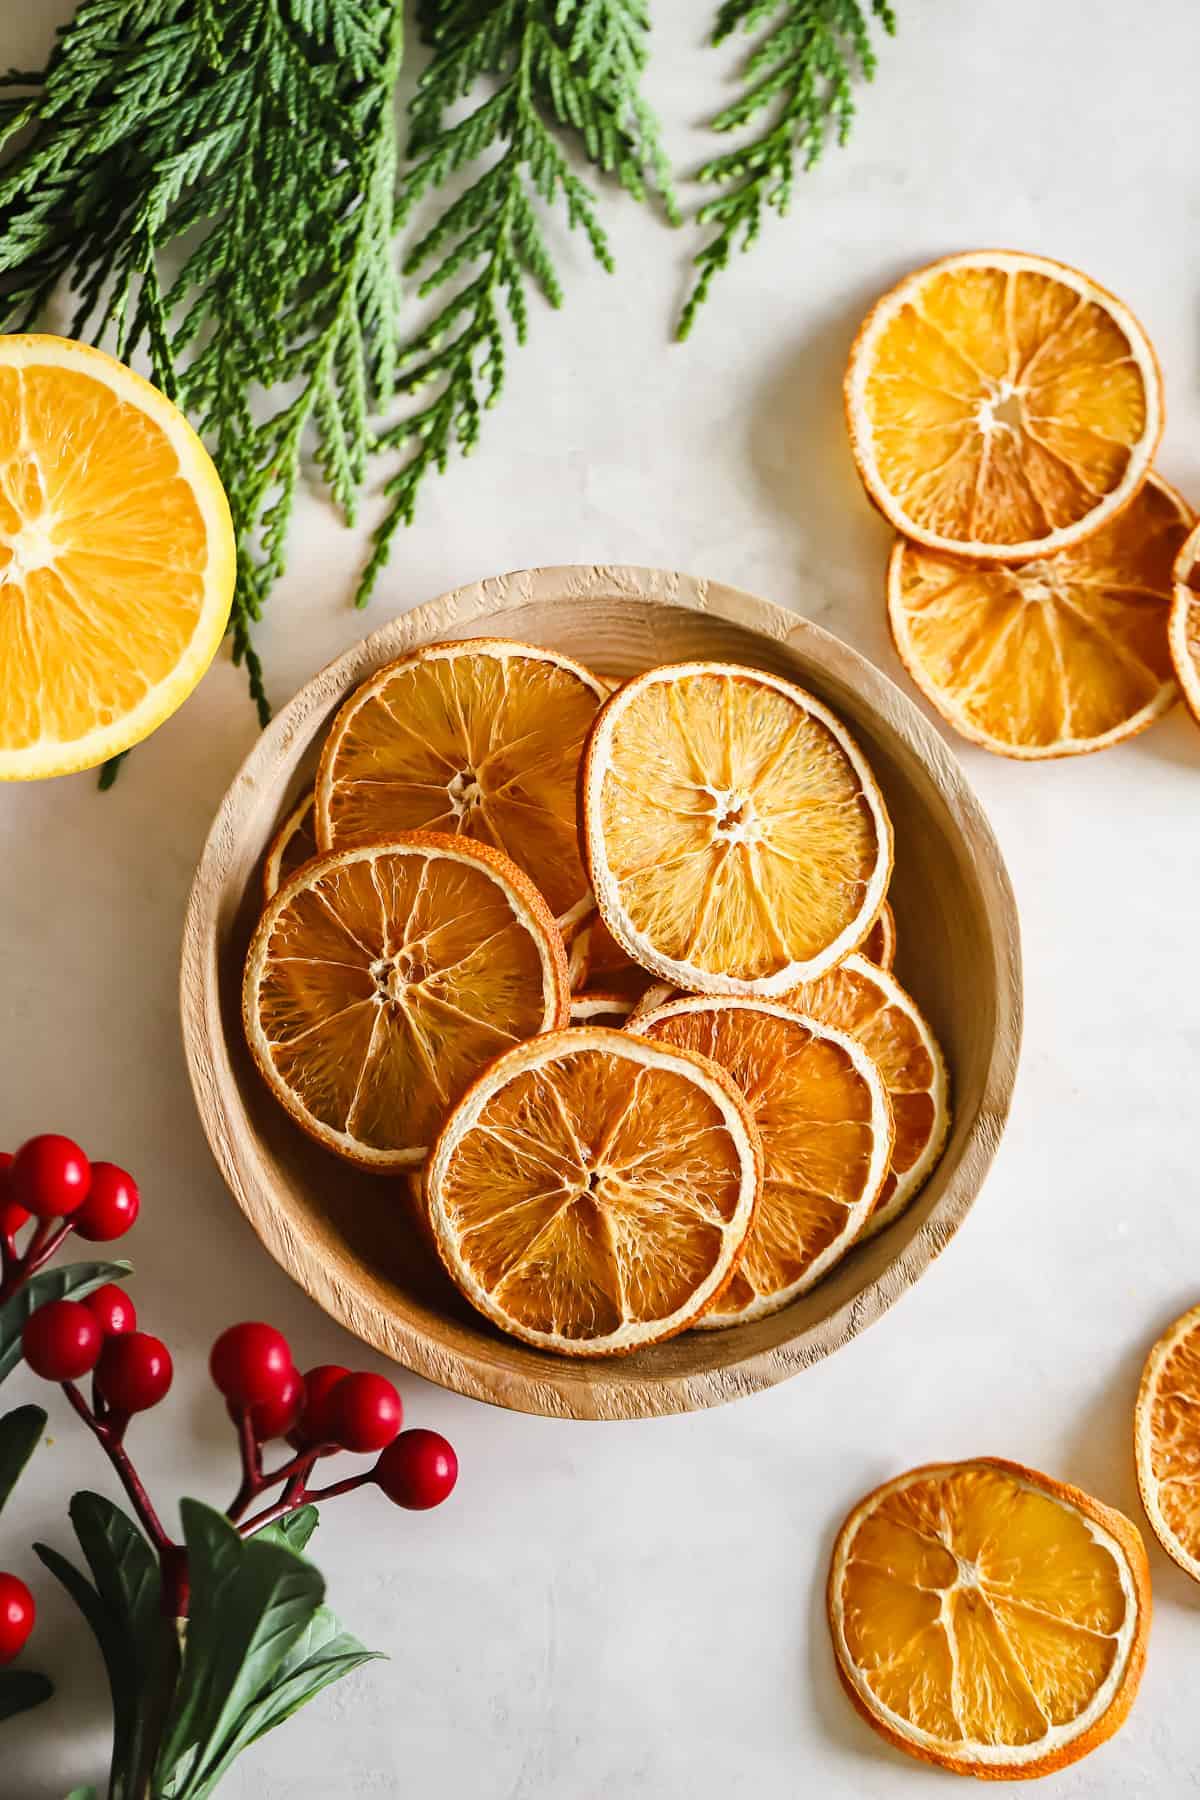
Ways to Use Your Dried Oranges
Orange Garland: poke small holes in your dried oranges and then string twine through them connecting them into one piece of garland.
In a Wreath: use twine to connect the dried oranges to your holiday wreath.
On a Present: use the dried oranges as decoration next to your to/from sticker on a holiday gift.
In a Cocktail: serve your favorite holiday cocktail with a dried orange garnish.
How long do dried orange garland last?
Depending on how “dehydrated” you make your oranges, this garland can last up to 2 years.
However, if any moisture is left in the oranges (if you can easily bend them), they will eventually mold.
Can you eat dried orange garland?
Yes! Dried oranges are edible, but most often times people use them as holiday decor.
Can I use a dehydrator instead?
You’re more than welcome to use a dehydrator instead of an oven. We haven’t personally tried it, but have dehydrated fruit many times, so it should work just fine.
Can I use a different kind of citrus?
Lucky for you, this method works for any kind of citrus. So, add some color to your garland! Here are some options:
- Grapefruit
- Lemon
- Blood oranges
- Lime
- Cuties
Storage
We recommend storing your dried orange garland in a cool, dark place if you’re planning to use it the following year.
If we’re being honest, we make new dried oranges every year because it’s easy to make and will make your house smell delicious!
Dried Orange Garland (in the oven)
Make Dried Orange Garland this holiday season for an easy at-home DIY holiday decoration! String them around your tree or elevate your holiday wreath.
Prep: 15 minutsCook: 3 hoursTotal: 33 minute
Fat 0 Carbs 0 Protein 0
Yield 1 1x
Ingredients
- 1-lb. navel oranges (or any orange of your choice)
Instructions
- Preheat the oven to 170ºF and line 2 large baking sheets with parchment paper. Set aside.
- Next, slice the oranges into thin rounds (about 1/8-1/4-inch thick). Do this with a very sharp knife or a kitchen mandoline (what we did) for the most consistent rounds.
- Place the orange rounds on the lined baking sheet. The oranges will shrink so they can be pretty close together.
- Place the baking sheets in the oven and bake the orange rounds for 1.5 hours and then flip the oranges over and bake for another 1-1.5 hours or until the middle of the oranges are dried out.
- Remove the baking sheet from the oven and let the oranges cool before using them in cocktails or crafts.
Nutrition Facts
Serving Size: 1 Calories: 0 Sugar: 0 Fat: 0 Carbohydrates: 0 Fiber: 0 Protein: 0
Author: Lee FunkeCategory: AccoutrementsMethod: OvenCuisine: American
Keywords: dried orange garland